Posted by BonitaWhat better way to spend
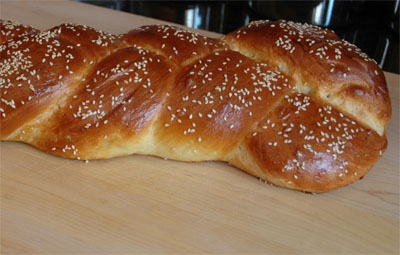
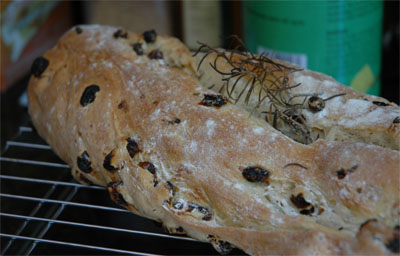
Victoria Day than going baking crazy in the kitchen? Alright, alright. I can actually think of better ways to spend a beautiful, sunny (if only slightly chilly) Victoria Monday outdoors, but for me, there’s nothing like spending a day baking up a storm. It’s been a couple of days since my last loaf of bread, which meant that it was time to bake a new one. Thus my pseudo-artisan bread, the wannabe that looks like an
artisan bread, tastes like a gourmet bread yet doesn’t require a
starter of any kind.
I do have a confession to make. I love recipe books. I mean, I love books in general, being an English major. I’m like a moth to a flame when it comes to me and
bookstores (and it’s a similar story when it comes to kitchen supply stores). My bookshelf is filled to capacity with books, much like the family bookcase downstairs is filled with cookbooks that my mother and I have picked up over the years. I’ve had
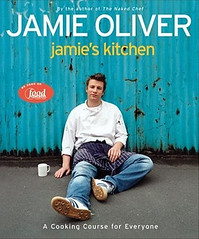
Jamie’s Kichen for a good couple of years now yet never really had a chance to try many of the recipes from them. I can tell you that I’ve flipped through the book many times, ooh-ing and aah-ing at the many recipes that I would love to try but never got around to doing so (although there was the time I made his
Baked Chocolate Pudding which ended up keeping the whole family up half the night from my “extra strong” espresso!). But this summer, determined to experiment in the kitchen to the max, I decided it was time to bring out that gorgeous blue-cover book and try out one of his fabulous looking bread recipes at the back of the book.
It’s no secret now that I have a huge crush on
Jamie Oliver. He’s a brilliant man: young, charming, dorky in a cute way and his accent and quirky saying…gotta love the man. I’ve made his
Focaccia with Rosemary and Olive Oil Topping a good-number of times, and it has always come out beautifully and tasted delicious, and is in fact one of my brother’s favourite breads. Flipping through the bread section, there were a few options that looked appealing, like the
Tomato Focaccia, the
Sweet Roasted Red Onion and Garlic Bread or even the
Slow-Roasted Tomato Bread, which would have looked adorable being baked in coffee tins. However, I wanted something a little different and with some sweetness to the bread today, so I opted for his
Rosemary and Raisin Bread. It certainly sounds like an odd combination when you first think about it, but it’s different, I’ll get the sweetness from the raisins and generally, I trust Jamie.
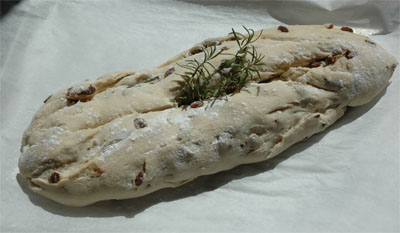
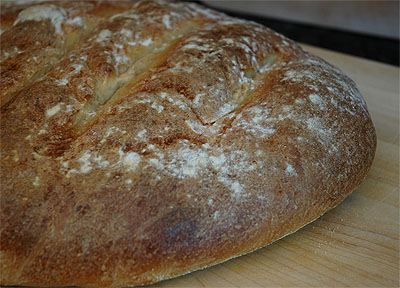
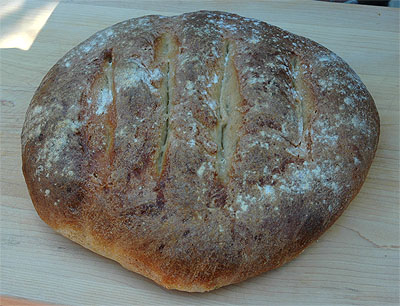
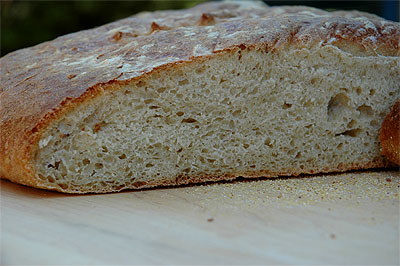
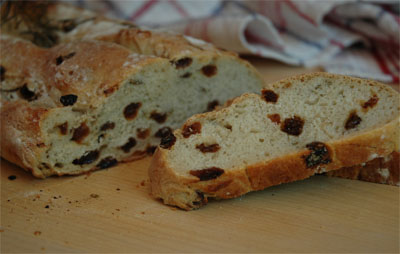
I got up bright and early this morning to get the dough made so that it could proof while I went out for my tennis game. Dough came together beautiful, and I knew I definitely had active yeast when it started bubbling and overflowing my measuring cup when I left it alone to bubble away for a few minutes! I cut some fresh rosemary from our herb garden outside, and I soaked the raisins in hot water for a few minutes to let them soften a little. Since today was a little chilly, I placed the dough in the oven that I slightly warmed ahead of time and then turned off, and then went off to play tennis for an hour. Came back to find a beautiful dough that had doubled in size. Punched down and shaped into a sausage loaf and then let proof for an hour again. I actually preheated the oven to 400°F rather than the suggested 350°F. I wanted a crusty exterior, and while Jamie didn’t mention it, I sprayed the loaf with some cold water (with a handy water spritzer), dusted it with flour and scored the surface with a sharp knife. Popped it in the oven and then sprayed the bread with more water at 5 minute intervals for the first 10 minutes. I then reduced the temperature to 350°F and let it bake that way for the remaining time. The book said to bake it for about 25 minutes, but I needed about 5 more minutes to get a nice golden colour to my loaf, probably due to my opening and closing the door and having all that heat escape. The house smelled delicious from the rosemary, and I got my desired crispy crust! The loaf looked beautiful, like something you might find at an artisan bakery. So here’s my pseudo-artisan bread, because it was a pretty simple yeast bread without the use of a starter, and yet it looks like it could be an artisan bread. I made a small cheddar cheese sandwich for lunch with this bread and it was great! It also tastes great just as it is with some butter.
And since I had the oven going today, and I wanted something sweet in the cookie jar, I also made
Cranberry Coconut Oatmeal Cookies. They’re one of my staple cookies that I always love to make, because they’re quick and easy, they taste fabulous and best of all, they’re freezer-friendly. I used to make
Chocolate Chip Cookies all the time, but ever since I came upon this recipe, I’ve made these more often because they are healthier and make me feel slightly less guilty for indulging in a cookie…or two…sometimes even three.
The original recipe comes from
Canadian Living magazine (I don’t know exactly which issue it came from, since I can’t seem to find the exact magazine around the house at the moment. But when I do, I’ll let you know!), and when I first saw it, I knew I had to make it. It sounded delicious, and the pictures of the cookies looked fabulous. However, after having briefly glanced over the recipe, I knew that something was fundamentally wrong with the proportions of the ingredients. The amount of dry ingredients they were asking for would produce a ridiculously dry dough that wouldn’t hold together. So, I took up a pencil and fiddled around with the numbers and came up with a formula that I thought would work much better in order to create a nice dough. Went to work and low-and-behold, the dough came out perfectly. Not too wet, nor too dry: just perfect! The cookies did indeed come out delicious, with a nice texture from the oatmeal and coconut and the right amount of sweetness. I initially made these using dried cherries, before switching over to the dried cranberries that is originally asked for in the recipe (after having been reconciled to dried cranberries earlier this year). These babies can work well with any combinations of dried fruits though, and I’d love to give dried apricots a try in the future. I’m sure they’ll also be delicious with nuts (almonds, pecans, hazelnuts, etc.) or chocolate chips. Best of all, they really do freeze well. I always make a big batch of these when I’m at school and just throw them in the freezer to have treats on hand when busier times keep me out of the kitchen. They make for a great study-break treat!
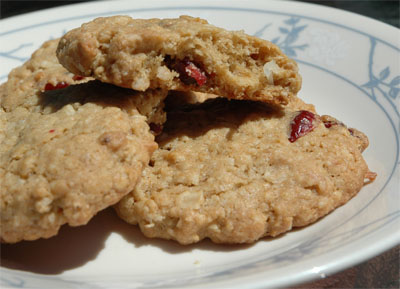
Cranberry Coconut Oatmeal Cookies
Adapted from Canadian Living magazine
Makes about 2-3 dozen
- ½ cup butter, softened
- ¾ cup packed brown sugar
- 1 egg
- 1 tsp vanilla
- 1 cup rolled oats (not instant)
- 1 cup all-purpose flour
- ½ cup shredded sweetened coconut
- ½ tsp each baking powder and baking soda
- ¼ tsp salt
- ½ cup dried cranberries
- Line rimless baking sheets with parchment paper or grease; set aside.
- In large bowl, beat butter with sugar until fluffy; beat in egg and vanilla. In separate bowl, whisk together rolled oats, flour, coconut, baking powder, baking soda and salt. Add to butter mixture along with cranberries; still until combined.
- Drop by heaping 1 tbsp, about 5 cm apart, onto prepared pans. Bake in top and bottom thirds of 375°F (190°C) oven, rotating and switching pans halfway through, until golden, 10 to 12 minutes. Transfer to racks; let cool.

